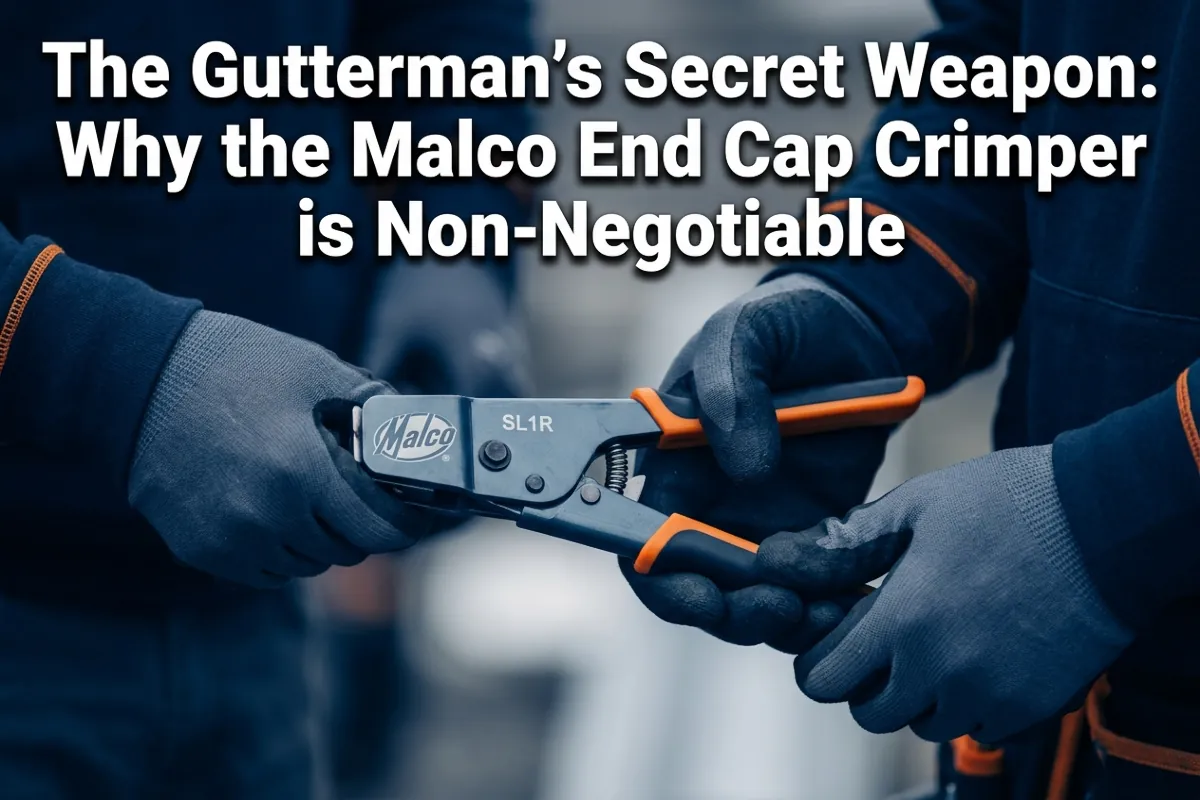
If you’ve been in the gutter business for more than a week, you know firsthand why the Malco end cap crimper is non-negotiable. You’ve seen the jobs where a guy tried to get by using standard pliers or, heaven forbid, just a heavy bead of sealant to hold an end cap in place.
The result? Leaks, sagging, and a callback that costs you more in gas and time than the original job was worth.
Before we open the contractor’s toolbox, just a quick note: I field-test any products mentioned here. As an Amazon Associate, I earn from qualifying purchases at no extra cost to you.
After 31 years in the trades, I’ve learned that you don’t skimp on the tools that touch the “finish line.” That’s exactly why understanding why the Malco End Cap Crimper is non-negotiable isn’t just opinion, it’s hard-won field knowledge backed by thousands of completed jobs.
Key Takeaways
- A mechanical crimp creates a permanent bond that sealant alone cannot replicate, especially under thermal expansion stress.
- The Malco SL1R uses compound leverage to drive deep, secure crimps even from an awkward position on a ladder.
- The “Double-Security Method”, crimp first, seal second, is the single most effective way to eliminate leaky end cap callbacks.
- Forged steel jaws and nickel plating make the SL1R a contractor-grade tool built for daily job site abuse, not a one-time-use purchase.
- A properly crimped end cap protects structural integrity at the gutter’s most vulnerable termination point.
The Root Cause: Why End Caps Fail in the First Place
Before I tell you what tool fixes the problem, let me tell you why the problem exists. This is the diagnostic approach I apply to every job.
An end cap sits at the terminal point of a gutter run. It takes the full force of water rushing down the channel and redirects it, or stops it cold. That’s a high-stress position. Add seasonal thermal expansion and contraction to the equation, and a K-style aluminum gutter can shift by a measurable fraction of an inch across a 40-foot run over a single summer.
Here’s what that movement does to a sealant-only end cap:
- The sealant bond stretches and fatigues over repeated thermal cycles.
- Micro-gaps open at the cap edge, often invisible until water is actively running.
- Water finds those gaps, wicks behind the fascia board, and starts rotting the wood.
- By the time the homeowner notices, you’ve got a structural repair, not just a gutter repair.
The root cause is simple: sealant is a secondary defense. It was never designed to be the primary mechanical bond. When contractors treat it as the primary bond, they’re setting up a future failure. That’s not a theory, that’s 31 years of real-world troubleshooting talking.
What Makes the Malco SL1R Different
Most “all-purpose” tools try to do too much. The Malco SL1R is a specialist. It performs one specific surgical move: creating a permanent, mechanical bond between the end cap and the gutter profile.
That’s why the Malco End Cap Crimper is non-negotiable on any professional installation.
The Compound Leverage Factor
You aren’t fighting the metal. The tool does the work for you. The SL1R’s jaw geometry is engineered to multiply your hand force into a deep, controlled crimp. That matters when you’re 20 feet up on a ladder in a crosswind, working with one hand while the other grips the rail.
Standard pliers require you to muscle through the aluminum. You get an inconsistent deformation, sometimes too shallow, sometimes cracking the metal. The SL1R gives you a repeatable, clean punch every single time.
The Mechanical Lock Principle
The crimper creates a punched indentation that physically interlocks the end cap flange with the gutter channel wall. Here’s why that matters for long-term durability:
| Attachment Method | Primary Bond Type | Thermal Expansion Resistance | Callback Risk |
|---|---|---|---|
| Sealant Only | Chemical adhesion | Low, fatigues over cycles | High |
| Standard Pliers | Inconsistent deformation | Variable, often shallow | Medium-High |
| Malco SL1R Crimper | Mechanical interlock | High, crimp holds independent of sealant | Very Low |
| Crimper + Sealant (Double-Security) | Mechanical + Chemical | Maximum, dual redundancy | Near Zero |
Even if the sealant eventually fails, and let’s be honest, all sealant has a lifespan, the mechanical bond of the crimp stays solid. That’s the material performance difference that separates a professional installation from a patch job.
Built for the Long Haul
These aren’t big-box-store disposable tools. The SL1R features forged steel jaws and a nickel plating that resists rust and daily job site abuse. I’ve had mine for years. The jaws haven’t worn, the pivot hasn’t loosened, and the grip hasn’t cracked. That’s contractor-grade quality, not a tool you replace every season.
The Contractor’s Pro-Tip: The Double-Security Method
This is the method I’ve used on every single end cap installation for decades. It’s field-tested, it’s simple, and it eliminates the leaky cap callback permanently. Here’s why the Malco End Cap Crimper is non-negotiable when you run this sequence:
Step 1, Dry Fit First Seat your end cap completely before any sealant touches the metal. Check that the cap flange is flush against the gutter profile on all sides. If it’s not sitting right dry, it won’t sit right wet. Fix the fit now.
Step 2, Crimp the Mechanical Bond Use the Malco SL1R to punch your crimp points. Standard placement:
- Two points on the front face of the gutter (top and bottom of the flange)
- Two points on the back
- One point at the bottom center of the gutter profile
Space your crimps evenly. You’re not just pinching, you’re creating a series of interlocking deformations that distribute load across the entire cap perimeter.
Step 3, Apply Sealant Inside Only after the mechanical bond is locked in do you apply your high-grade gutter sealant on the inside seam. Work it into the full perimeter of the cap interior. The crimp holds the cap stationary while the sealant cures, no shifting, no gaps forming during the cure window.
“By using the crimper first, you ensure the cap doesn’t shift while the sealant is curing. That’s the difference between a DIY patch job and a professional installation.”
This sequence matters. Sealant first means you’re relying on a wet chemical bond to hold the cap in position during cure. Any movement, wind, vibration, a ladder bump, breaks that initial bond before it sets. Crimp first eliminates that variable entirely.
The Bottom Line
The end cap is the gutter’s most vulnerable termination point. It’s where proper water diversion either holds or fails. Skipping the right tool at this stage is the single fastest way to generate callbacks, damage your reputation, and eat your profit margin on a job you already completed.
Check price on Amazon for the Malco SL1R End Cap Crimper. It pays for itself on the first job by eliminating the risk of a callback. That’s not a sales pitch, that’s the math of 31 years in the trades.
Conclusion
If you want to be known for quality in the guttering business, you have to use tools that produce quality results. The Malco End Cap Crimper is non-negotiable not because it’s the most expensive tool in the bag, but because it’s the most precise tool for this specific task. It creates the mechanical bond that sealant alone cannot guarantee. It works in the field, on a ladder, under real conditions.
Run the Double-Security Method on every end cap. Crimp first. Seal second. Never get that callback.
For the full list of contractor-grade tools I’ve relied on for three decades, check out the Contractor’s Toolbox, the exact same kit I bring to every job in 2026.