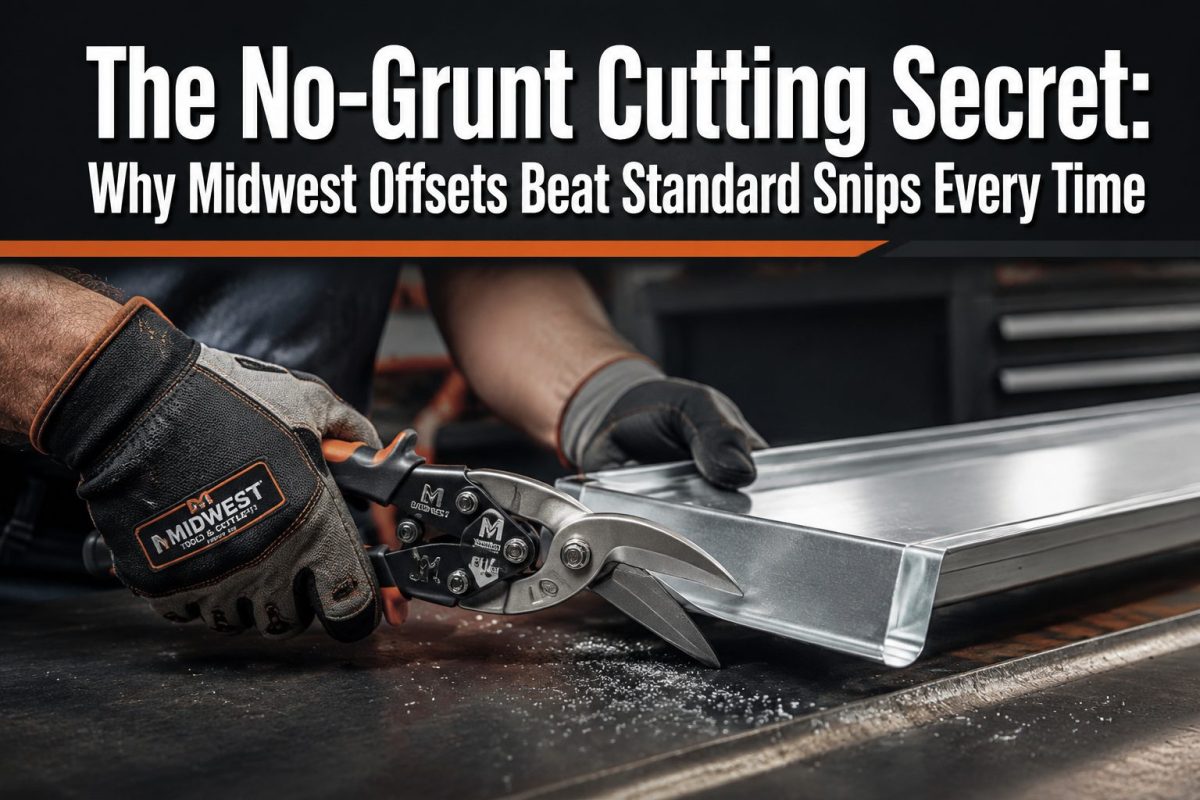
After 31 years in the gutter business, I’ve seen a lot of guys try to “muscle” their way through a job with the wrong tools. If you’re using standard straight-cutting snips, the kind you find in the bargain bin at the big-box store, you know the routine: twisting the metal, grunting to get through a miter, and ending up with jagged edges that look like a beaver chewed on them. That’s exactly why Midwest Offsets beat standard snips, and once you understand the physics behind it, you’ll never go back to those flat-blade relics.
When you’re working with .027 and .032 heavy-gauge aluminum, you don’t need more muscle. You need better physics.
Before we open the contractor’s toolbox, a quick note: I field-test any products mentioned here. As an Amazon Associate, I earn from qualifying purchases at no extra cost to you.
Key Takeaways
- Midwest offset snips use angled geometry to lift your hand above the material, eliminating knuckle drag and metal curl
- Standard straight snips distort heavy-gauge aluminum edges, ruining clean miter cuts
- The red (left) and green (right) snip pair covers every cut direction you’ll face on a real job
- Using the wrong snip for the cut direction causes hand fatigue and wasted material
- Proper tool selection is the first step toward a contractor-grade, long-term drainage installation
The Midwest Offset Advantage
For three decades, my go-to has been Midwest Offset Snips. Unlike standard snips where your hand sits in line with the metal, offsets angle your hand above the material. That single shift in geometry changes everything about how the cut behaves.
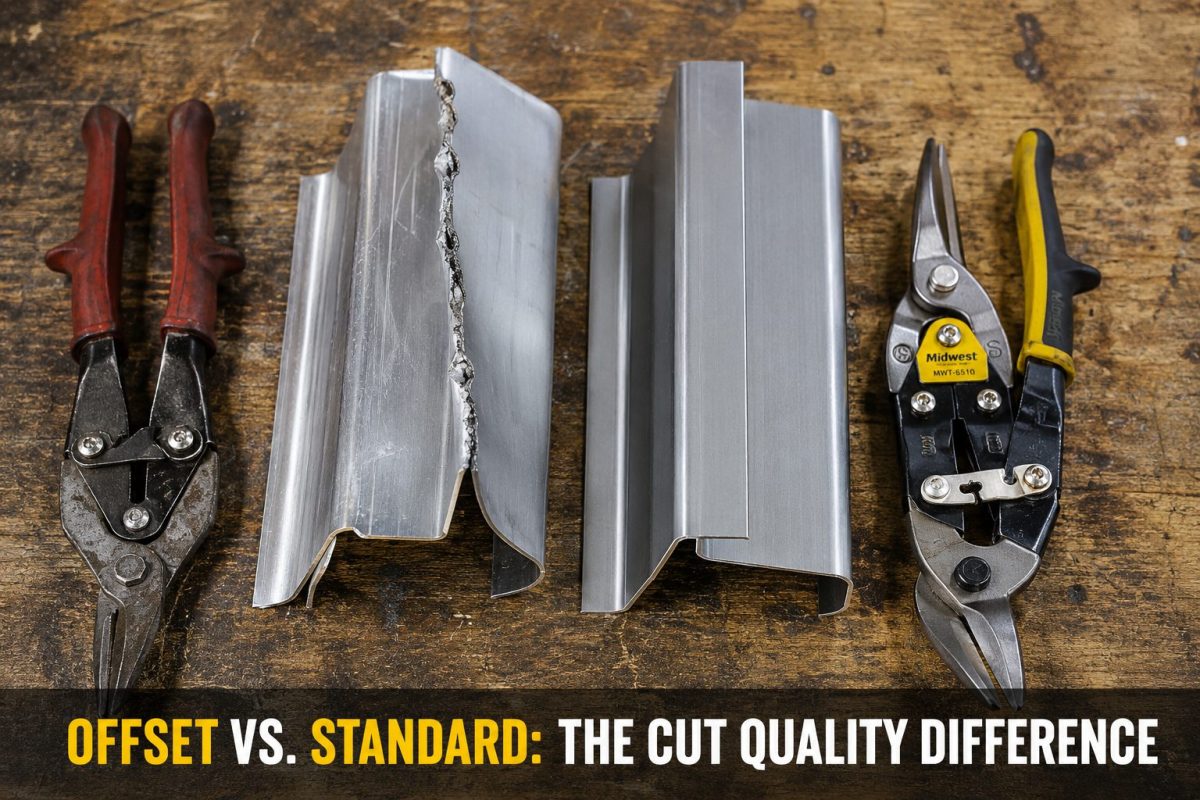
Here is what actually happens with a standard straight snip on .032 aluminum:
- The blade forces the waste metal to curl upward
- That curl slams into your knuckles mid-cut
- You instinctively twist your wrist to clear it
- The blade deflects, and your cut line wanders
- The edge comes out hooked, bent, or micro-cracked
Now here is what happens with a Midwest offset on the same material:
- Your hand rides above the sheet
- The waste curls away from your grip
- The blade stays on the line
- The cut is clean, flat, and ready to seal
“The offset design isn’t a convenience feature. It’s a structural advantage. A distorted edge on a miter joint is a leak waiting to happen.”
That’s not marketing language. That’s 31 years of real-world troubleshooting talking. I’ve re-cut more miters than I can count because a homeowner or a green helper used the wrong snips and thought they could seal over a ragged edge. You can’t. Sealant bridges gaps; it does not fill structural voids left by a bad cut.
Why Gauge Matters for Tool Selection
Not all aluminum guttering is the same. Here’s a quick breakdown of how gauge affects your tool choice:
| Gauge | Thickness | Standard Snip Result | Midwest Offset Result |
|---|---|---|---|
| .020 aluminum | Light residential | Manageable but still curls | Clean, flat cut |
| .027 aluminum | Standard contractor grade | Noticeable distortion | Smooth, controlled cut |
| .032 aluminum | Heavy contractor grade | Severe curl, hand fatigue | Effortless, professional finish |
If you’re installing contractor-grade .032 material and using bargain-bin straight snips, you’re fighting the physics of the tool on every single cut. That’s not a skills problem. That’s a tool selection problem.
Why You Need the Pair: Red and Green
One of the most common questions I get is: “Why do I need two pairs of snips?” It’s simple. Direction matters.
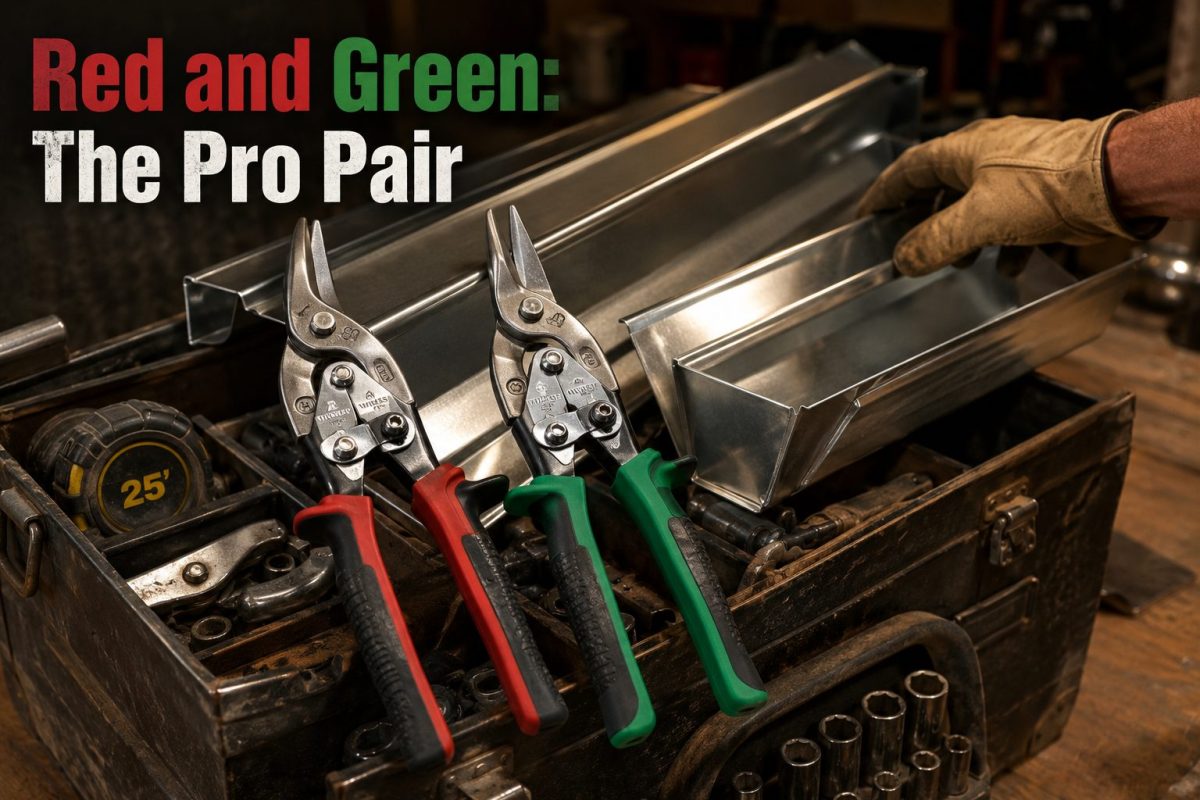
- The Reds (Left-Cut): Designed to flow the waste material to the right, making left-hand curves and straight cuts effortless. The blade geometry pulls the scrap away from the finished piece on the left side.
- The Greens (Right-Cut): Flow the waste to the left, perfect for right-hand curves. These are your go-to when you’re cutting the opposite miter angle on a corner.
In the world of seamless guttering, you aren’t just cutting a straight line. You’re navigating inside corners, outside corners, end caps, and downspout drops. Every one of those cuts has a direction. If you only own one pair, you will eventually find yourself cutting “against the grain,” which means:
- The waste metal folds back over your cut line
- You lose visual contact with your mark
- The blade binds and skips
- Hand fatigue sets in fast
- Material gets ruined, and material costs money
I keep both pairs on my belt on every job. It’s not redundancy. It’s efficiency. The right tool for the right direction is one of the most basic rules of field-tested trade work, and it applies here as directly as anywhere else in the trades.
The Real Cost of the Wrong Snip
Let’s do some quick math. A section of .032 contractor-grade aluminum gutter runs roughly $1.50 to $2.50 per linear foot in 2026. A bad cut on a 10-foot miter section wastes $15 to $25 in material, before you factor in your time to re-measure and re-cut. A pair of Midwest offset snips costs less than $30. The math is not complicated.
Beyond material cost, there is the structural integrity argument. A clean miter cut means:
- Sealant bonds flush to flat metal surfaces
- No micro-gaps where water can wick under the joint
- Proper water diversion through the full run
- Long-term durability without seasonal joint failure
A ragged cut from a standard snip creates a surface that no sealant can fully compensate for. That’s how you end up with a callback six months after installation when the homeowner calls to say water is running down the fascia.
The Bottom Line on Why Midwest Offsets Beat Standard Snips
I’ve used them all over 31 years in the trades, and I can tell you that Midwest Offsets are the professional standard for a reason. They stay sharp longer than bargain alternatives. They save your grip over a full day of cuts. And they produce the kind of clean finish that defines a long-term, structurally sound drainage installation.
Here’s what the upgrade actually gives you on a real job:
- No knuckle drag on heavy-gauge aluminum
- No edge distortion that compromises your sealant bond
- No wrist fatigue from fighting the waste curl
- Consistent cut quality across every miter, cap, and drop
- Professional results that hold up through thermal expansion cycles year after year
If you’re still using those old-school straight snips, do yourself, and your hands, a favor. Upgrade to the offsets. Stop fighting the metal and start managing it. That’s the difference between a tool that works against you and one that works with the material.
Start With the Right Steel
Is your guttering toolbox empty or underpowered? If you’re going to tackle your own home’s drainage system, you cannot depend on bargain-bin tools and “good enough” hardware. In my 31 years on the roof, I’ve learned that the wrong tool doesn’t just make the job harder, it makes the results fail faster.
Don’t fight the metal with tools that weren’t built for the task. Shop the Contractor’s Toolbox at Guttering.com to pick up the exact professional crimpers, bits, and hand tools I’ve trusted for three decades. Get the right gear the first time, save your hands, and do the job like a pro.
Conclusion
The no-grunt cutting secret isn’t a secret at all once you understand the geometry. Midwest offset snips change the angle of your hand relative to the material, and that single mechanical advantage eliminates the three biggest problems with standard snips: edge distortion, hand fatigue, and wasted material. Pair the reds and greens together, match your cut direction to the right snip, and you’ll move through .032 aluminum like it’s nothing.
Your next steps are straightforward:
- Retire the straight snips to the junk drawer
- Pick up a matched red-and-green Midwest offset pair
- Practice a few test cuts on scrap material to feel the difference
- Check your existing miter joints for any edge distortion that may be compromising your sealant bond
Proper tool selection is the foundation of proper water diversion. Get the tools right, and the rest of the installation follows.